Creating and Editing Expenses
Creating a New Expense
Section titled “Creating a New Expense”To add an expense or income record:
- Go to the Expenses section in the sidebar
- Click the + (Add) button
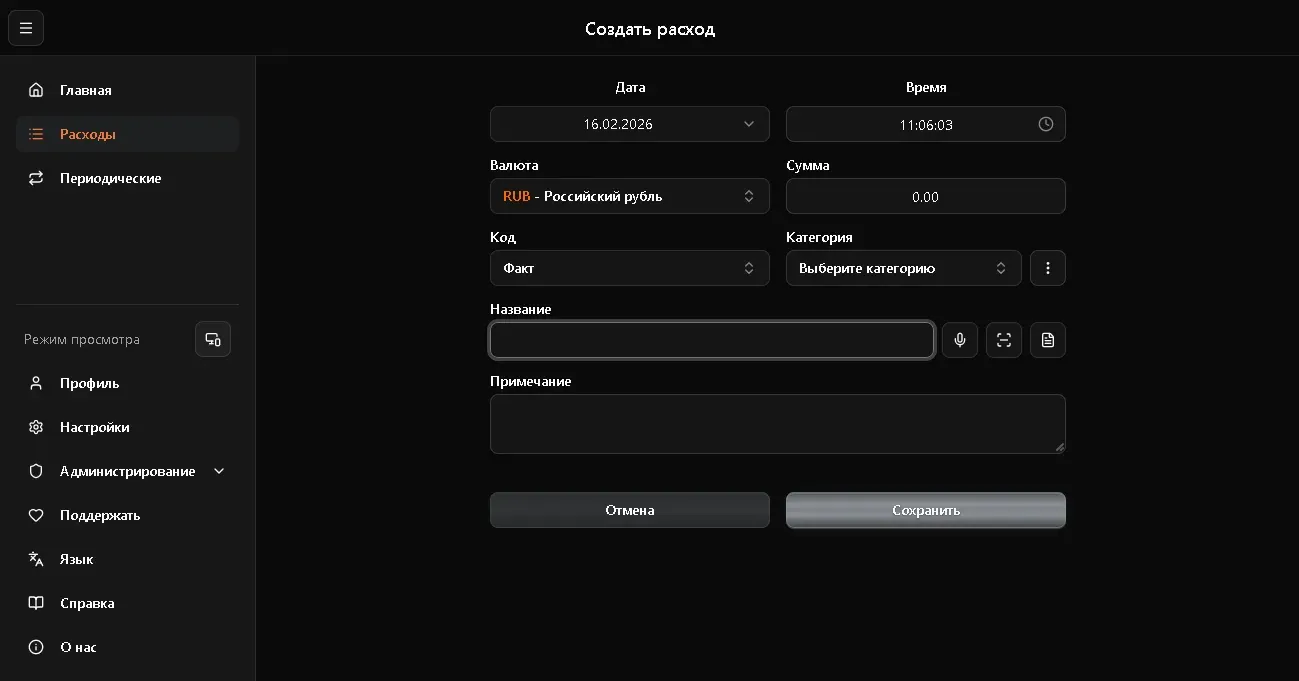
- The creation form will open
Form Fields
Section titled “Form Fields”| Field | Description | Required |
|---|---|---|
| Date and time | When the transaction occurred | Yes |
| Type | Fact, Plan, or Transfer | Yes |
| Currency | RUB, USD, EUR, etc. | Yes |
| Amount | Transaction cost | Yes |
| Category | Expense or income type | Yes |
| Name | Brief description | No |
| Notes | Additional information | No |
Quick Entry
Section titled “Quick Entry”In addition to manual entry, there are three quick methods:
- Voice input - click the microphone icon next to the “Name” field. More: Voice Input
- Receipt QR code scanning - click the camera icon. More: Receipt Scanner
- PDF receipt upload - upload an electronic receipt in PDF format
Amount Sign
Section titled “Amount Sign”The amount sign is determined automatically by the selected category:
- Expense categories (Food, Transport, etc.) - amount will be negative (deduction)
- Income categories (Salary, Freelance, etc.) - amount will be positive (deposit)
You don’t need to add a minus sign manually - just enter the number.
Editing
Section titled “Editing”To edit an existing record:
- Find the record in the expense list
- Click on it (on mobile) or click the edit button (on desktop)
- Modify the needed fields
- Click Save
Deleting
Section titled “Deleting”To delete a record:
- Open the record for editing
- Click the Delete button
- Confirm the action in the dialog
Receipt Duplicates
Section titled “Receipt Duplicates”If you scan the same receipt again, the app will warn you about a duplicate. You can:
- Cancel - don’t create a duplicate
- Save anyway - create the record even if the receipt was already added
Managing Categories
Section titled “Managing Categories”You can create custom categories:
- In the expense list, find the category settings icon
- Click Add Category
- Specify:
- Category name
- Type: expense (-) or income (+)
- Click Save
Custom categories can be edited and deleted. System categories cannot be deleted.