Voice Input
How It Works
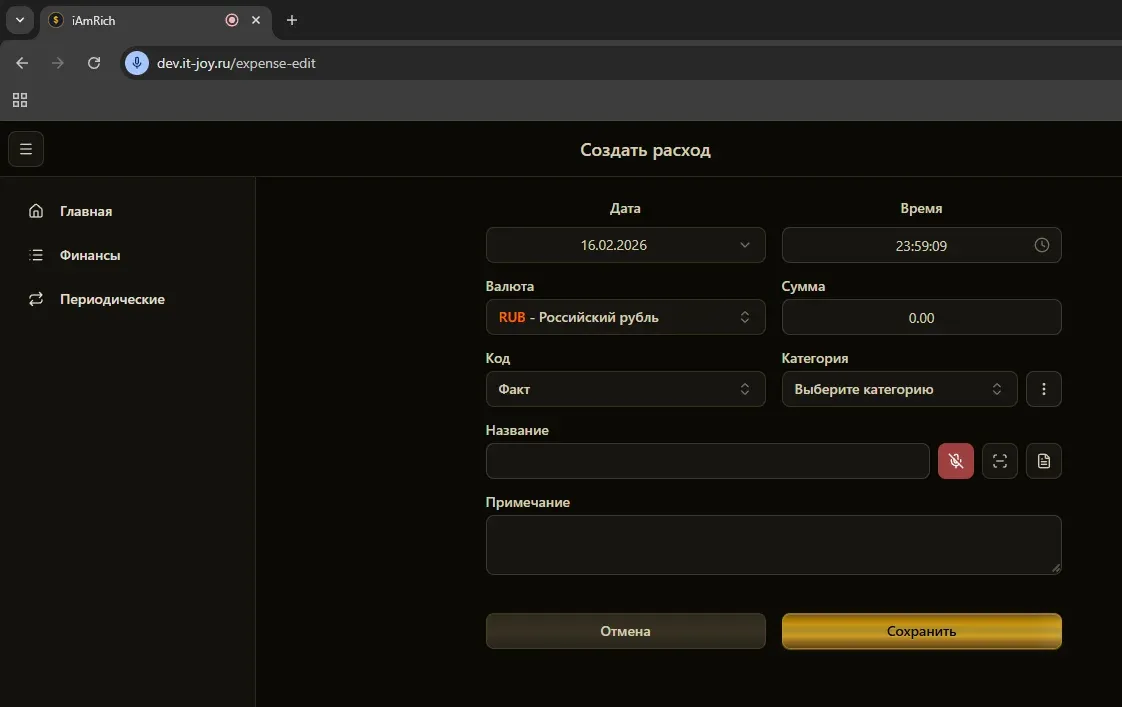
Section titled “How It Works”Voice input lets you add an expense with a single phrase. You speak naturally, and AI recognizes and automatically fills in all form fields.
- Open the expense creation form (+ button)
- Click the microphone icon next to the “Name” field
- The button turns red - speak!
- Say a phrase, for example:
- “Bought coffee for 5 dollars”
- “Paid for taxi 15”
- “Received salary 3000”
- “Lunch at cafe 20 dollars”
- Click the microphone again to stop recording
- AI will automatically fill in:
- Name - transaction description
- Amount - recognized cost
- Currency - detected currency
- Category - matching category
Example Phrases
Section titled “Example Phrases”| What to say | What gets filled |
|---|---|
| ”Bought bread for 3 dollars” | Food, 3 USD, “Bread" |
| "Paid for internet 30” | Utilities, 30 USD, “Internet" |
| "Earned freelance 500 dollars” | Income, 500 USD, “Freelance" |
| "Spent on gas 50” | Transport, 50 USD, “Gas” |
Supported Languages
Section titled “Supported Languages”- Russian
- English
The language is determined automatically by the app settings.
How AI Determines Category
Section titled “How AI Determines Category”AI analyzes keywords:
- Expense words: bought, spent, paid
- Income words: received, earned, sold, refunded
If no keyword is found, AI selects a category based on the description context.
Requirements
Section titled “Requirements”- Browser with Web Speech API support (Chrome, Edge, Safari)
- Microphone access permission
- Active subscription (for speech recognition)